Avoiding the hidden pitfalls of VMware’s vCenter server appliance 6.0 upgrade

VMware’s vCenter appliance is missing parts, one of these is the easy upgrade method. I would prefer to mount the upgrade iso on to the vCSA and click a button that does the job. Instead of this, get ready to read the various walkthroughs of upgrading the vCSA and remember the old days of typing shell commands on linux. It’s not that bad but hey it’s 2015, user friendliness and user interface design are one of the main criteria of selecting products. VMware steps backward!

Ok, let’s start. First of all, check the console display of vCSA, it should be like this:

6.5

Open a browser, goto VMware’s Patch Download Center and download (in our case) the VMware-vCenter-Server-Appliance-6.0.0.5110-2656759-patch-FP.iso file. Now sftp this file to a datastore accessible from vCSA, probably the same datastore that the appliance resides. If you mount the iso patch file to the appliance from vSphere client the job will abort since during the installation the vSphere client disconnects from vCenter. So mount the iso file from an accessible datastore.

Get putty ready and ssh to vCenter Server Appliance. Login as root to install the patch.

1

Logging in as root, it doesn’t give me the same shell environment as logging in as an administrator but it returns the linux bash environment. At this point, if you execute software-package command it will return an error since this is not a bash shell command. You must execute appliancesh command to get into the vCSA shell environment.

By typing software-package command with a help flag you can get the various option of the command

2

we are interested on the iso flag. So execute software-packages install --iso command to start the patch installation

5

during the patch installation, both vSphere desktop and web clients will be disconnected.

During the installation, be careful with the EULA screens because you may press enter by accident when it asks you if you accept the terms and conditions. If you do so, the patch will be staged but not installed. Execute the command software-packages install --staged to install the patch.

3

4

When the installation finish, reboot vCSA appliance by issuing the command shutdown -r <remark> for example shutdown reboot -r patch_vca_upgrade6.0.0.b

6

Now the console screen displays the new vCSA version.

7

Finally disconnect the iso image from cd drive.

Good luck!

VMware’s vSphere Client copy files between hosts tip

Usually I store windows or vmware iso files in host’s local datastores instead of SAN datastores. So, sometimes I need to access the iso file from another host located on another cluster. There is a quick and dirty way to copy an iso file from one host’s local storage to another host’s local storage or SAN datastore. Go to VMware’s vSphere Client and browse the source storage by right clicking the datastore, dive into the iso folder, select the file and copy it by right clicking it.

1

Browse the source local datastore and copy the file

Now goto the destination datastore, browse it and create a new folder.

2

Create a destination folder

Dive into and paste the iso file.

3

Paste the iso file

The copy takes place in a flash, it’s a local copy between the hosts.

The Odyssey of building a lightweight VMware View Linux workstation for Horizon 6

We want to reuse some rather old windows workstations until replace them by zero or thin client terminals. We selected a lightweight Linux OS to replace windows OS to avoid the need of Microsoft licenses. On the other end, we have deployed VDI desktops on Horizon View 6 platform. The desktop pool consists of floating dedicated desktops with persistent disks.

Let’s walk through the various steps to build the lightweight workstation, unfortunately various settings must be configured!

1. Install a lightweight linux OS

Goto http://lubuntu.net/ and download the latest version of lubuntu linux. In my case the 15.04 version.

  • Burn the iso image on a CD
  • Install Lubuntu
  • Enable user to automatically log in the workstation
  • Configure network settings or use your DHCP server
  • Connect to internet
  • Goto to System Tools – Software Updater to install the latest updates.
  • Reboot.

2. Download the vmware-view client

Goto https://www.vmware.com/go/viewclients and download the latest Vmware Horizon Client for Linux. In my case, this is the VMware-Horizon-Client-3.2.0-2331566.x86.bundle.

3. Install vmware-view client

Open a Unix terminal and goto Downloads folder

cd ~/Downloads

Give execute permissions to vmware view file

chmod +x VMware-Horizon-Client-3.2.0-2331566.x86.bundle

Execute the file with root permissions

sudo ./VMware-Horizon-Client-3.2.0-2331566.x86.bundle

At the end of the installation wizard press the scan button to check for compatibility issues. It returns errors for libudev.so.0, libcrypto.so.1.0.1 and libssl.so.1.0.1 libraries.

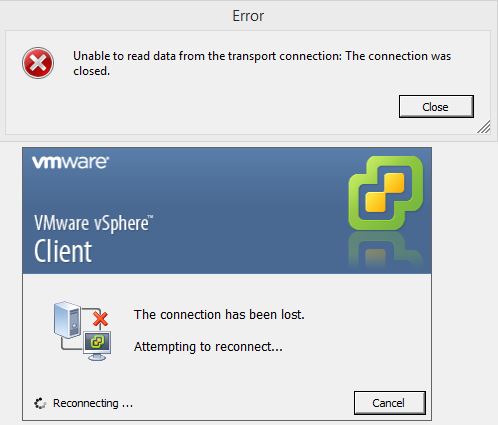
Now, If you execute vmware-view on the terminal, you will get the following error:

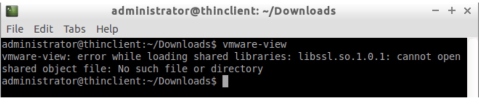
We have to create the following symbolic links as root to resolve the errors

sudo ln -s /lib/i386-linux-gnu/libssl.so.1.0.0 /lib/i386-linux-gnu/libssl.so.1.0.1
sudo ln -s /lib/i386-linux-gnu/libcrypto.so.1.0.0 /lib/i386-linux-gnu/libcrypto.so.1.0.1
sudo ln -s /lib/i386-linux-gnu/libudev.so.1 /lib/i386-linux-gnu/libudev.so.0

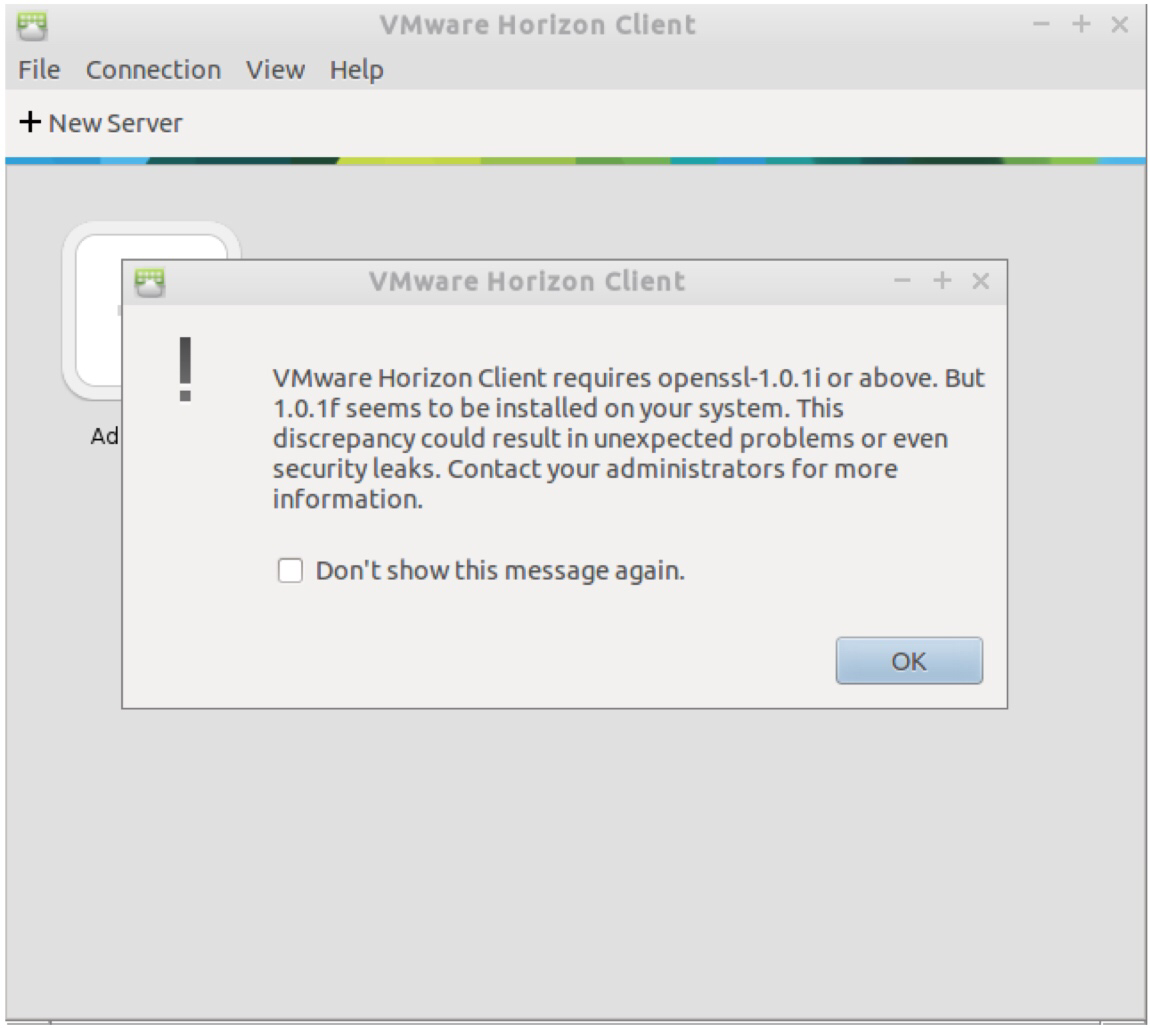
If you run the vmware-view client, you will notice that

  • It supports only PCoIP protocol
  • A warning will inform you that the installed openssl version is old. Actually this version is vulnerable to Heartbleed bug.
  • USB redirection does not work
  • Finally an SSL root certificate should be installed

4. Support RDP protocol

Install freerdp application by running

sudo apt-get install freerdp

Try vmware-view again by selecting the RDP protocol (Connection – Settings) to connect to Horizon View 6 platform.

5. Install the latest version of openssl

Unfortunately Lubuntu software update does not upgrade to the latest version of openssl. If you run sudo apt-get install openssl nothing happens.

Goto ftp://ftp.us.debian.org/debian/pool/main/o/openssl and download the latest versions of libssl and openssl. In my case, these are libssl1.0.0_1.0.2a-1_i386.deb and openssl_1.0.2a-1_i386.deb.

First remove the old openssl package.

sudo apt-get remove openssl

I removed everything.

Goto Downloads and install the aforementioned packages as root.

cd ~/Downloads
sudo dpkg --install libssl1.0.0_1.0.2a-1_i386.deb
sudo dpkg --install openssl_1.0.2a-1_i386.deb

Now if you check the version by running openssl version, it should return OpenSSL 1.0.2a 19 Mar 2015.

During the package removal, the symbolic links have been deleted, so, recreate the symbolic links to the new paths.

sudo ln -s /usr/lib/i368-linux-gnu/libssl.so.1.0.0 /lib/i386-linux-gnu/libssl.so.1.0.1
sudo ln -s /usr/lib/i368-linux-gnu/libcrypto.so.1.0.0 /lib/i386-linux-gnu/libcrypto.so.1.0.1

Now vmware-view does not display the openssl warning message.

6. Install the Domain Root Certificate

First copy company’s root certificate to Downloads folder, e.g company.crt and install ca-certificate package as root.

sudo apt-get install ca-certificates

Copy the root certificate to /usr/local/share/ca-certificates folder

sudo cp ~/Downloads/company.crt /usr/local/share/ca-certificates/

Install and trust the certificate

sudo update-ca-certificates

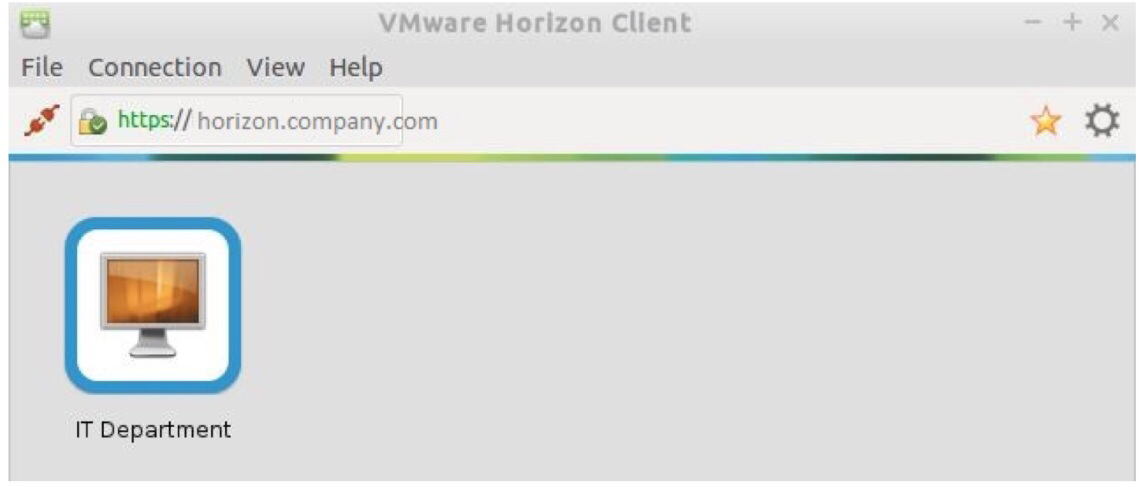
The URL link goes green!

7. Enable USB Redirection

Vmware view client 3.2 for linux supports USB redirection.

Goto /etc folder and edit the rc.local file as root.

cd /etc
sudo vi rc.local

Insert the following lines before exit 0 command:

/usr/lib/vmware/view/usb/vmware-usbarbitrator
/usr/lib/vmware/view/usb/vmware-view-usbd

Finally, reboot the workstation and connect to the Horizon View. Notice that USB redirection works using PCoIP connection protocol and RDP as well.

8. Post installation jobs

Disable screenlock

Goto Preferences -> Power Manager

At Security tab select “Never” at Automatically lock the session


Autostart vmware view client

Goto Preferences -> Default applications for LXSession -> Goto Autostart
Type in “Manual autostarted applications”

vmware-view --nomenubar --fullscreen
or
vmware-view --kioskLogin --nonInteractive --once --fullscreen --nomenubar --serverURL="server.mycomany.com" --userName="username" --password="password"

depending on your taste and press the “Add” button

Checkout https://www.vmware.com/pdf/horizon-view/horizon-view-client-linux-document.pdf document for more options.

At any time <Ctrl><Esc> brings you the Start Menu.

Good luck!


The nightmare of vCenter server appliance 6.0 installation

VMware’s vCenter server appliance 6.0 has the same scalability numbers as the windows installable server. It seems that there is no reason to avoid the installation of vCenter appliance again. Buy one Microsoft windows server license less next time.

I will not go through an installation guide since there are plenty of these published on the Internet. But I will underline a few problems that I encountered during the installation of the appliance.

A. Don’t forget to install the client integration plugin

First of all, the appliance comes in iso format not in ova.  

 So mount the iso file and go into vcsa folder 

 Execute the file with “run as administrator”.

B. Don’t forget to set the VLAN Id on your VM Network

If you are using VLANs on your switches, make sure that you have already set it right on your host VM Network. Otherwise the vCenter will be disconnected from the network and you will end up with a “Failed to start services. Firstboot Error.”.


It seems that this error appears because the vCenter appliance cannot contact the configured DNS service.

Another interesting implication is that if you have configured the ip of your NTP server for time synchronization instead of ESXi host time synchronization. The installation script will stop abruptly. So, remember to setup the VLAN correctly.

C. Don’t forget to manually enter the DNS entries of vCenter ip

vCenter 6.0 appliance is very sensitive with the host entries on your DNS server. Double check that you have correctly entered the host name and the IP address of vCenter as well as the reverse lookup record.

D. Read vSphere’s common issues document

Read VMware’s common issues section in vSphere’s Release Notes document. Very useful, for example it seems that you should configure only one DNS server during the installation, even though the entry prompts you to enter more than one ip separated by comma!

“The vCenter Server Appliance scripted installer fails if more DNS servers are provided simultaneously
The scripted installation of vCenter Server Appliance fails if you provide more than one DNS server during the installation process.

Workaround: You should use only one DNS server at a time, and after the installation has finished, you can add more DNS servers.”

What a nightmare! Please VMware, correct the pre-check functions in the installation script and return meaningful error messages!


How to secure the internet side of your Citrix Netscaler

This is a two-minute guide to securify the internet side of your Netscaler. We will setup two parameters, the “Deny SSL Renegotiation” and the acceptable Ciphers.

A. Deny SSL Renegotiation

Go to Traffic Management – SSL page on your netscaler and press the “Change Advanced SSL Settings” link.

Change advanced SSL Settings

Change advanced SSL Settings

The advanced SSL settings will appear. Notice that the default value of “Deny SSL Renegotiation” property is “NO”. Change it to “FRONTEND_CLIENT”.

Deny SSL Renegotiation

Deny SSL Renegotiation

You may want to change it to the strict value “ALL” depending on your web farm structure. This setting is usually a finding after a penetration test, so set it up to avoid SSL Renegotiation Denial of Service attacks.

B. Configure the Cipher Group

Go to the SSL tab in your virtual server and select Ciphers. The configured Cipher Group is called “DEFAULT” and includes 128bit strength ciphers. Remove this value and in the available Cipher Groups pane, select “HIGH”. This group includes high strength 168bit encryption ciphers. The available ciphers pane lists the acceptable ciphers of the selected group.

All modern browser are compatible with these ciphers, so go ahead and use them.

Cipher Groups

Cipher Groups

Do the same for all your virtual servers.